AWS S3 Securities
In this tutorial, we will learn about how to setup securities for your AWS S3 bucket and limit the access.
Security is the base of all projects when it comes to data. The data to the outside world is possible only if we allow it.
Different scenarios in which users access data:
A. Unknown user from the web who tries to access the S3 bucket:
This is possible only if they have public access URL.
B. IAM user of same AWS account wants to access S3 bucket:
This is possible if proper IAM policy is written
C. EC2 instance wants to connect S3 bucket:
Directly there are no rules. We need to add EC2 instance Role for the S3 connection.
D. IAM user from different AWS account:
For this Cross Origin Access (CORS) should be enabled to access from Advance setting
Bucket Policies:
Buckets are just like folders in a system where you can store some data.
For writing any rule in AWS, we need to write bucket policies.
We have looked above the high level of S3 Securities. In the end, it is JSON configurations.
We will create in Hands-on below, before that we should be aware of some terminology used:
A. Resources:
This is the bucket ARN. Every bucket has a unique ARN.
The S3 bucket for which we are adding policy, there ARN we will paste.
{
  "Resource": "arn:aws:s3:::examplebucket/*" // Will get from bucket
}
B. Action: The rule that we are writing — read access, write access, etc
{
  "Action": "s3:GetObject"  // Read Access
}
C. Principal: The account or user, you get policy for
{
  "Principal": "*"  // complete access
}
How to Add Security Rules:
Here We will write rules for making the image public which we have uploaded previously.
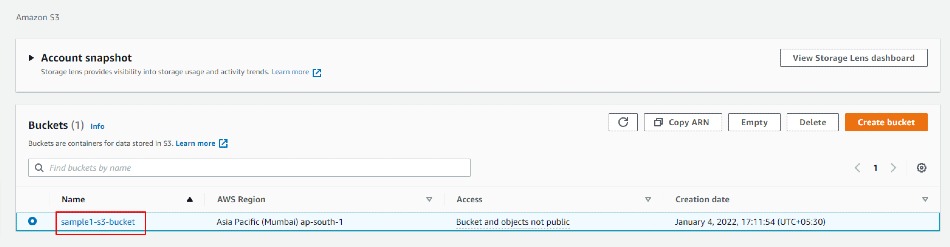
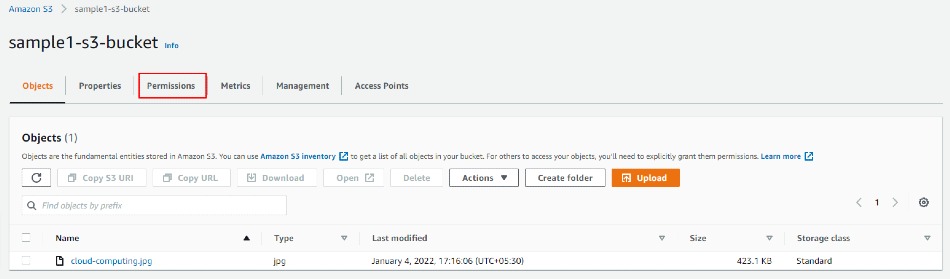
1. Go to the AWS console and select S3 AWS service and Click on your S3 bucket.
2. Click the Permissions tab
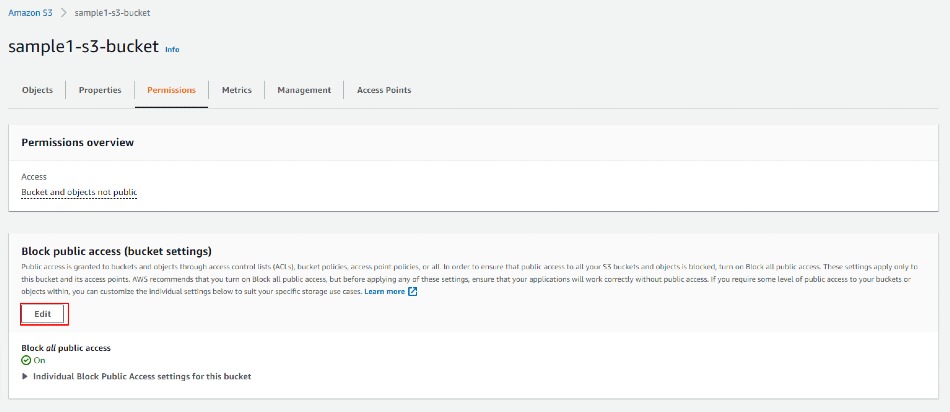
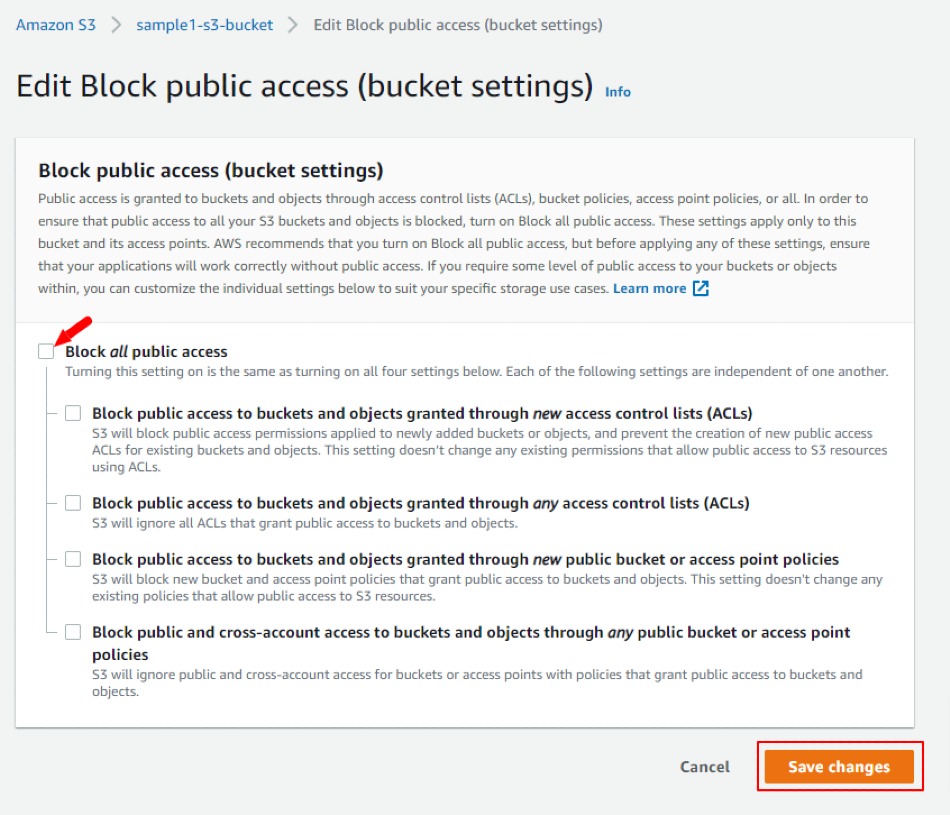
3.Click Permission tabs → we will land an AWS setting page. Here we need to write Bucket policy → Uncheck Bucket Block All Public Access setting → Save changes
The next step is to Add a bucket policy. For that Click the Edit button.
→ Click Add Statement button
→ Click Generate policy → Copy-paste JSON data
Now go back to the Edit Bucket page. Paste the JSON configurations → Save changes
→ The bucket is now publicly accessible.
→ Let us go back to the image in the bucket and try opening it again:
→ We see this time image is successfully opened without any Access Denied error.