MEANStack Messenger Quick Start Guide
A robust real-time chat application built with MongoDB, Express.js, Angular, and Node.js.
Introduction
What is MEANStack Messenger?
MEANStack Messenger is a comprehensive chat application built using the MEAN stack (MongoDB, Express.js, Angular, and Node.js). It provides a robust platform for real-time communication with features like one-on-one messaging, group chats, media sharing, notifications, and more.
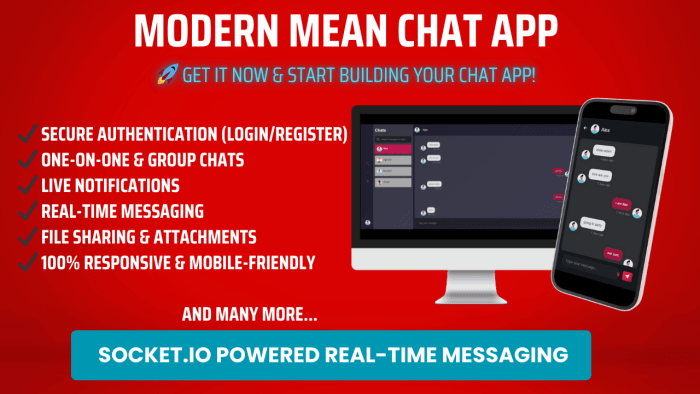
Key Features
- Real-time Messaging: Instant message delivery using Socket.io
- User Authentication: Secure login and registration system with JWT
- One-on-One & Group Chats: Private and group conversations
- Media Sharing: Send images, videos, and documents
- Message Status: Track message delivery and read status
- Push Notifications: Get alerted about new messages
Technical Overview
MongoDB
NoSQL database for storing user data, messages, and media
Express.js
Backend framework for REST API implementation
Angular
Frontend framework for building the user interface
Node.js
JavaScript runtime for server-side operations
Prerequisites
Before installing MEANStack Messenger, make sure you have the following installed on your system:
Installation
Installation Steps
1. Download the Project
Download the project files from your dashboard and extract it
Then Go to the folder where you downloaded or cloned the project:
cd meanstack-messenger
2. Install Dependencies
Navigate to the project directory and install the required dependencies:
npm install
3. Configure Environment Variables
Create environment files for both backend and frontend:
For the backend (server/.env):
PORT=3000
MONGODB_URI=mongodb://localhost:27017/meanstack-messenger
JWT_SECRET=your_jwt_secret_key
NODE_ENV=development
For the frontend (client/src/environments/environment.ts):
export const environment = {
  production: false,
  apiUrl: 'http://localhost:3000/api',
  socketUrl: 'http://localhost:3000'
};
5 Start the Application
Start the backend server:
npm run start:dev
In a new terminal, start the frontend Angular application:
npm run start
The application should now be running at http://localhost:4200. The API server will be running at http://localhost:3000.
Note: For production deployment, make sure to update the environment variables accordingly and build the Angular application using ng build --prod.