In this tutorial, we will learn how to install MongoDB on macOS step by step.
so, let's get started,
If you are using Windows 10 or 11, click here.
Install MongoDB on macOS step by step
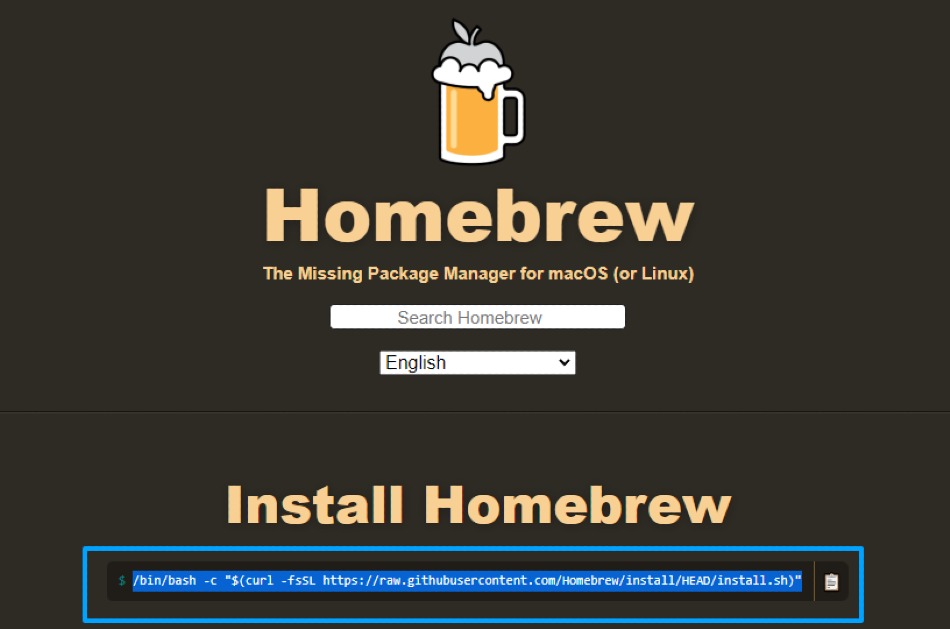
1. Install brew package manager for mac
Head over to https://brew.sh Copy the installation command from the homepage and paste it to your terminal.

2. Install the latest version of the node
brew install node once the installation is completed, you can verify it by using node --version command
3. Install mongo
brew install mongo 4. Create a DB folder for MongoDB
sudo mkdir -P /data/db5. Give read/write permission to the DB folder
sudo chown -Rv <user>/data/db you can check your username by typing whoami command in terminal.
6. Verify Installation
now open two terminal tabs and type mongod and mongo on another tab, it will start your MongoDB database.
👍Great!!!, our installation is completed and now our MongoDB is ready to use.
💡Tip:
you can use below command to start mongodb automatically when system starts
brew services start mongo


Leave a Comment
Share Your Thoughts