In today's digital age, integrating Google Maps into your website has become essential for businesses and individuals alike. Whether you want to display your store locations, provide directions, or enhance your user experience, a Google Maps API key is the key to unlocking the full potential of this powerful tool.
In this step-by-step guide, we will walk you through the process of creating a Google Maps API key for your website, ensuring smooth integration and optimized functionality.
What is a Google Maps API key?
An individual code supplied by Google to access Google Maps on website is known as a Google Maps API key.
You receive a certain number of free Google Map queries using your API key.
In order to access google maps, we need to have google map API connected to our App and to do that we need to follow a certain process.
Create a Google Maps API key step by step:
1. Go to Google Maps Platform and Sign up or log in with your existing with your Google account

Once done, you'll gain access to the GCP console, where you can manage various services, including the Google Maps API.
2. Enable billing for your project
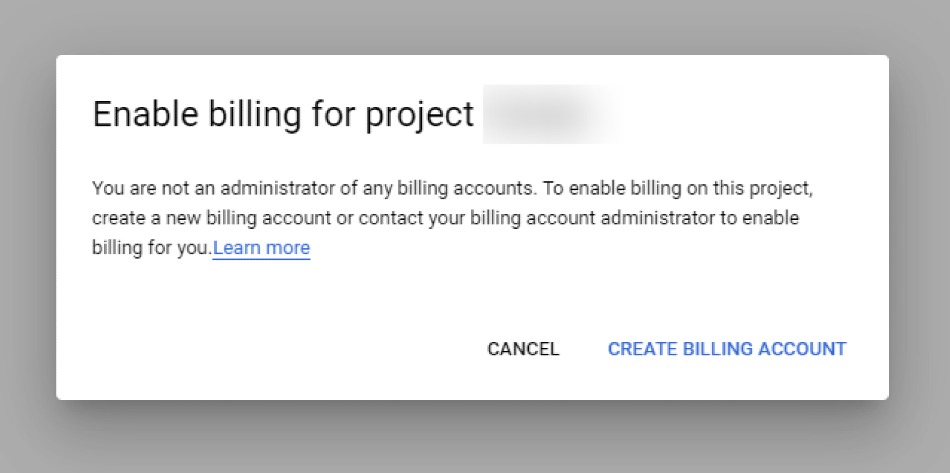
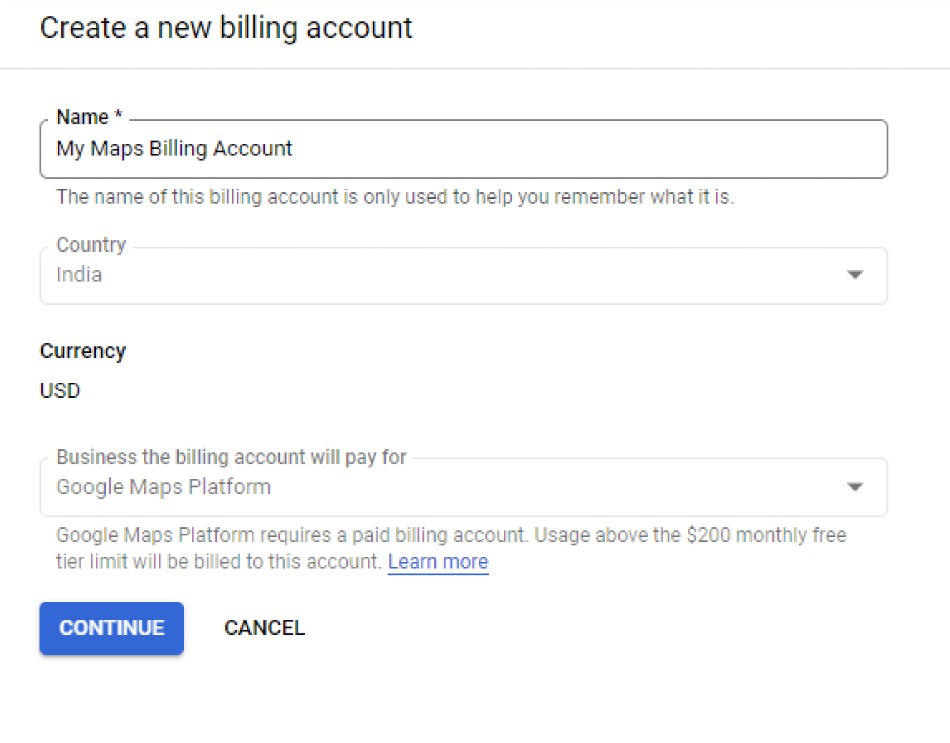
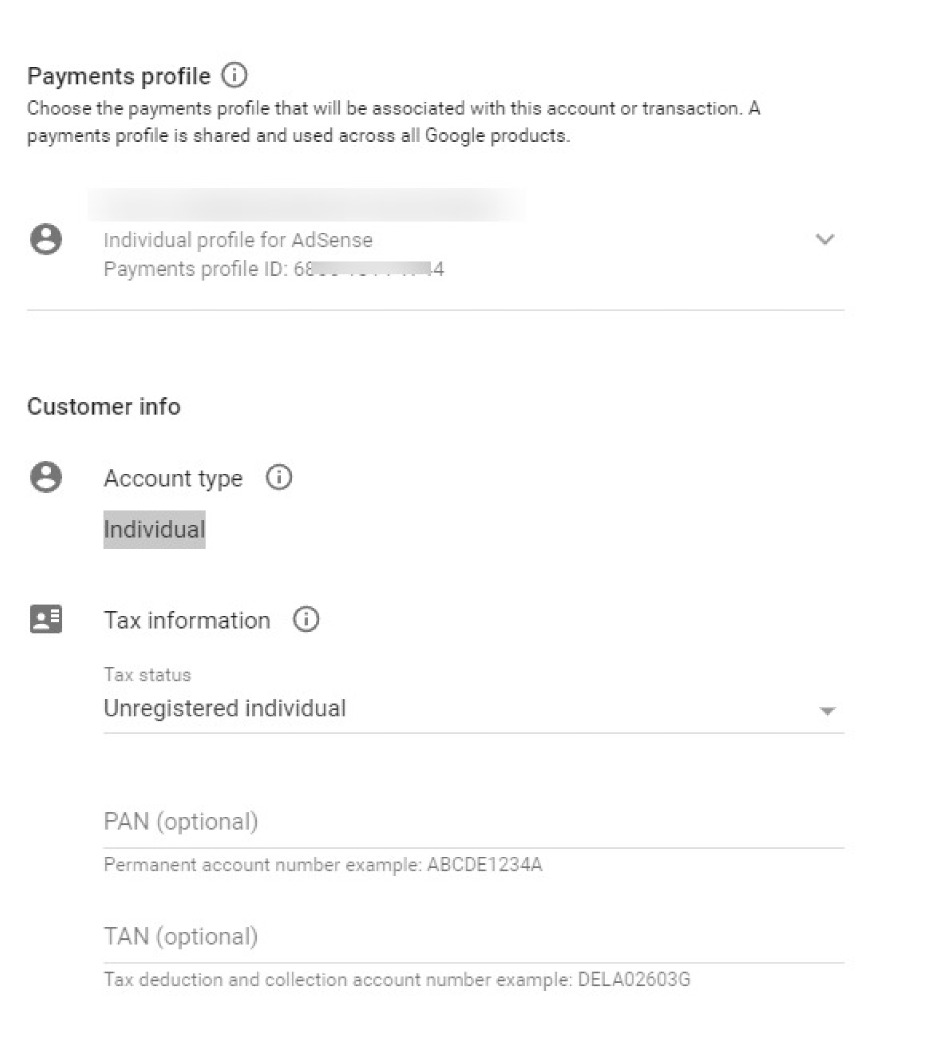
Give your billing project a name, then click Continue. Your contact information and payment details should be entered into the form. Choose Next.
3. Create New Project
Please choose an existing project from the list if you wish to use one. If not, choose "Create a new project" and provide an appropriate project name.
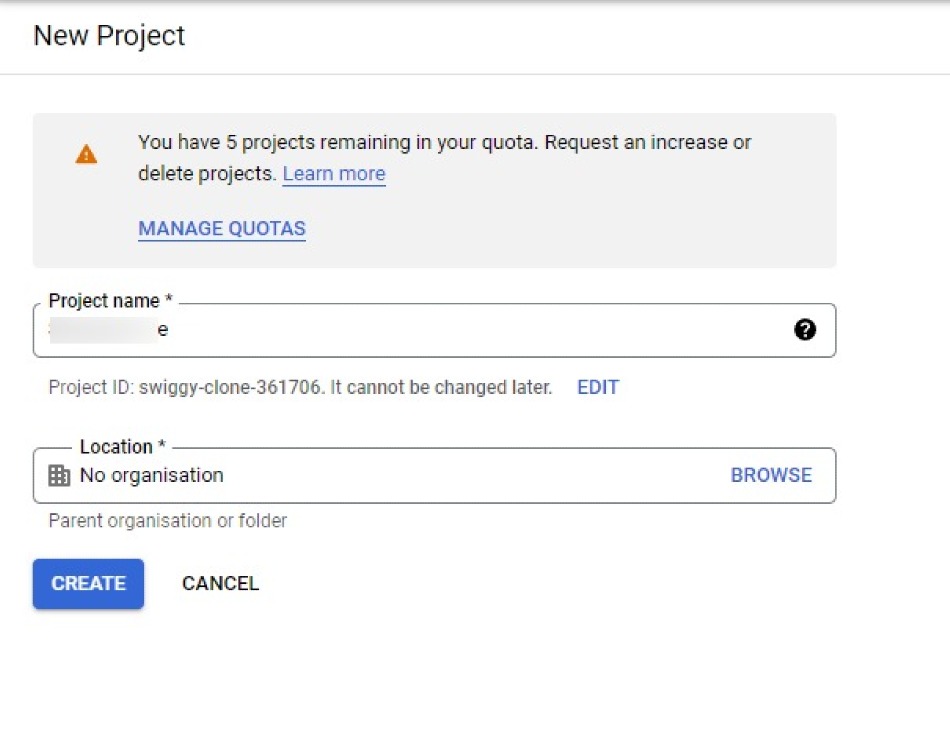
4. Create Your API and Enable Javascript API
Now from Dashboard select 'API and Services' from Quick Access menu.
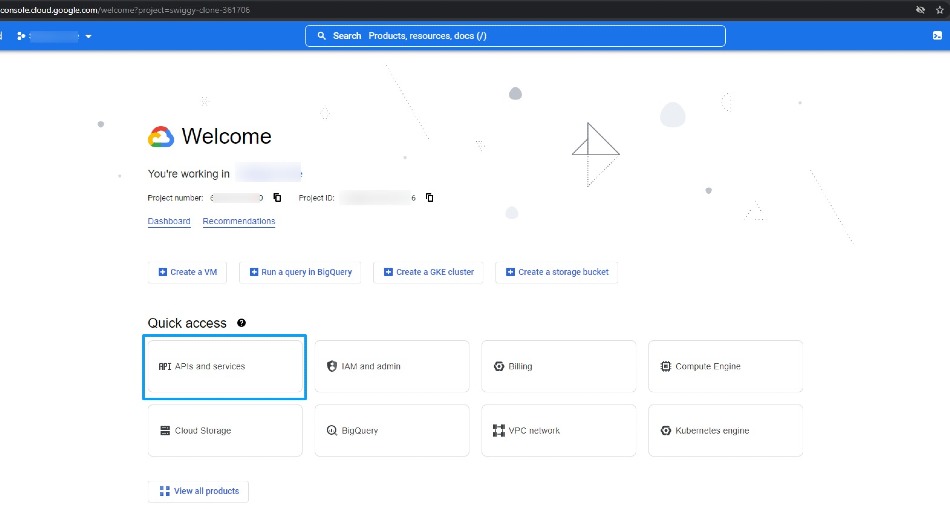
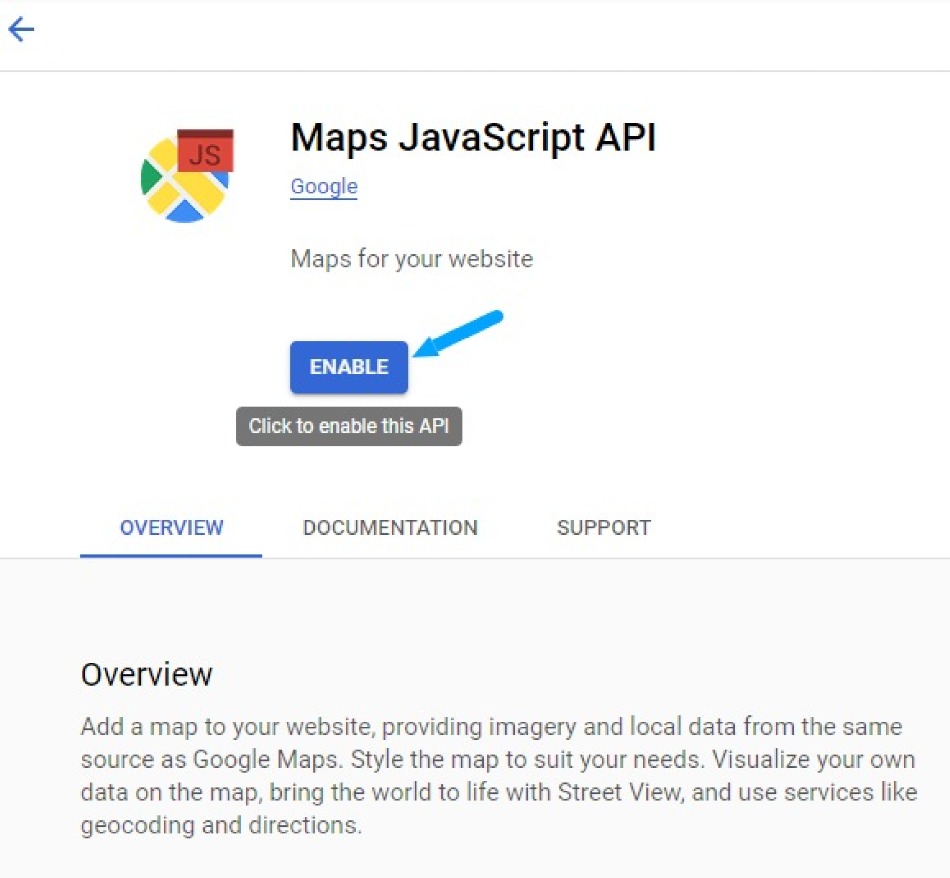
Then Select Maps Javascript API from the list

Now Enable JavaScript API
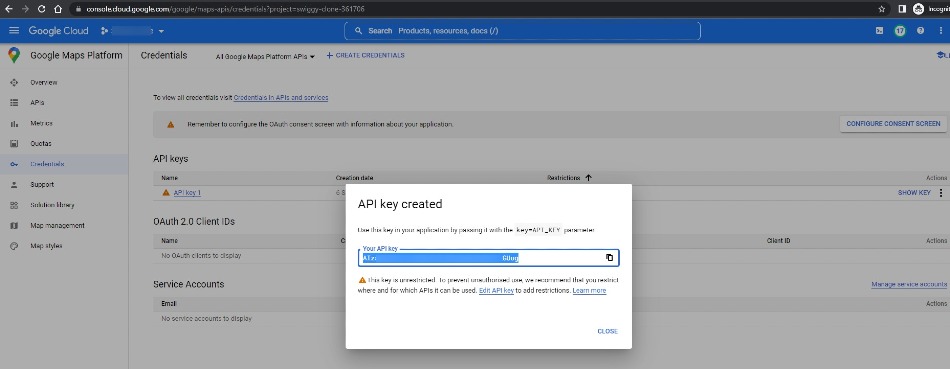
Your API key will be displayed in a new window for you. Press Save the key so you can use it, then click Done.
Any usage that goes over your allotted amount will be immediately charged to your Google account.
Billing Model:
You only pay for what you use while using Google Maps, Routes, and Places, as well as the associated APIs (Maps JavaScript API, Directions API, Timezone API, and Geocoding API).
You can establish usage limitations to guard against unforeseen cost rises, and you receive a regular $200 credit on your billing account each month to offset your usage charges.
Conclusion:
Congratulations! You've successfully created a Google Maps API key for your website. By following this step-by-step guide, you can seamlessly integrate Google Maps into your website, enhance user experience, and provide valuable location-based information. Remember to keep your API key



Leave a Comment
Share Your Thoughts