In this tutorial, you’ll learn how to use GIT branches in real-world projects step by step.
What are GIT Branches?
GIT branches are a very useful feature provided by git, which lets you work with multiple developers within the same project.
Branches become more useful when you want to work on multiple features at the same time. You wouldn’t want to end up with a master branch which has one feature half-done and second feature also half-done.
By using branches you can separate the code base into two branches and work on and commit to them separately. As soon as one was ready, you might merge this branch back into the master branch and push it to the remote server.
How to use Git Branching Step by Step Guide
Step1: Create and Checkout to Branch
When developers are working on a feature they’ll often create a copy of their code where they can make separate commits to. Then when they’re done they can merge this branch back into their main master branch.
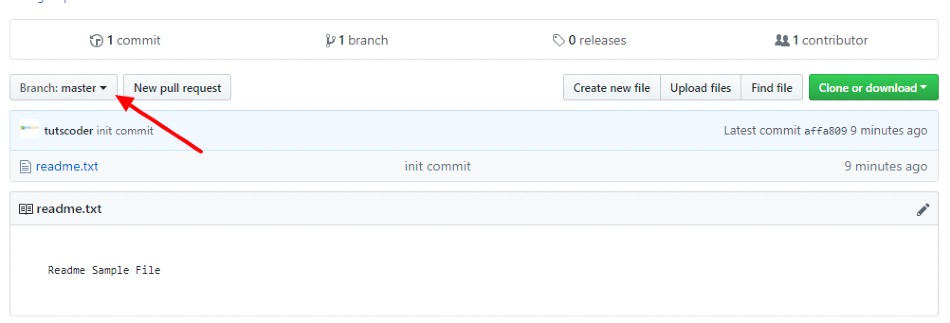
In the previous git article, we have created a Demo repository and it contains only the master branch by default.
Also read, How to Use Git and Github a Complete Beginners Guide
now let’s create another branch called ‘test_branch‘, where we will do all other work.
git branch test_branch
Great! Now if you type git branch you’ll see two local branches: the main branch named master and your new branch named test_branch.
You can switch branches using the git checkout <branch> command:
git checkout test_branch
You can also use shorten method to create branch and checkout to create a branch at once using the below command:
git checkout -b test_branch
now if you type git branch you’ll see two local branches with selected test_branch.
now you are in test_branch, we will create sample_file.txt here.
by typing the git status command you’ll see sample_file.txt as an untracked file.
Step 2: Commit changes to Git
Add the file you just created to the files you would like to commit the change.
git add demo.txt
Let’s commit those changes to the repository
git commit -m "Add sample_file.txt"
Push your files to remote repository by typing git push command
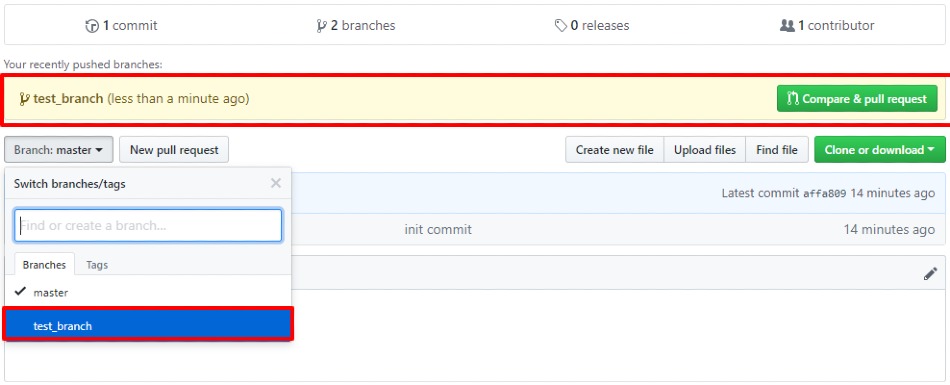
git push origin test_branch
Now we have pushed test_branch changes to the remote repository, go to your GitHub account and you’ll be able to see your new branch with your committed changes.
Step 3: Switching Back to master
Great, you’re almost finished, you just need to switch back to the master branch so you can merge your changes from the test_branchback into the master branch.
Go ahead and check out the master branch:
git checkout master
Step 4: Preparing to Merge
Alrighty, now we have to merge changes from the test_branch into the master branch.We’re already on the master branch, so we just need to tell Git to merge the test_branch branch into it:
git merge test_branch
Step 5: Delete the Branch
Congratulations! You just accomplished your first successful merge. Since you’re done with the test_branch you don’t need it anymore.You can use git branch -d <branch name> to delete a branch. Go ahead and delete the test_branch now:
git branch -d clean_up
Great, now you have done creating a new branch and merging it with a remote master branch, Take a look at your GitHub profile and you’ll see your changes to the master branch.
Here’s what you accomplished in this tutorial:
- What are GIT branches?
- Uses of GIT Branches
- Creating a new branch
- Committing to the new branch
- Make Push and Merge branch with remote Master branch
Conclusion
Thanks for reading.
Do let me know If you face any difficulties please feel free to comment below we love to help you. if you have any feedback suggestions then please inform us by commenting.
Don’t forget to share this tutorial with your friends on facebook and twitter.


Leave a Comment
Share Your Thoughts