
In this tutorial, we will learn about how to create an S3 bucket in AWS step by step.
What is AWS S3?
Amazon S3 is cloud storage for the internet which is also known as "Simple Storage Service". You can upload your data like (photos, videos, documents, etc.) on the S3 bucket easily also you can share it with everyone as per your requirement.
One of the most popular AWS services is S3. Several major companies, like Reddit, Netflix, Pinterest, and others, use it.
AWS S3 is one of the most popular AWS services, which is also used by some of the major high data-intensive companies like Netflix, Pinterest, and so on.
By using an s3 bucket we can also host a static website, which we will look into in another article.
Create S3 Bucket in AWS Step by Step
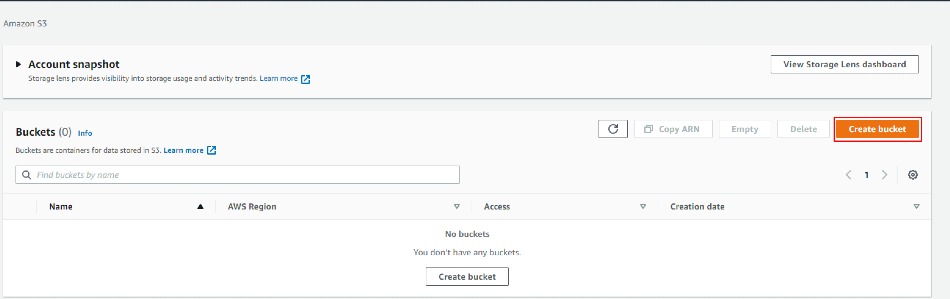
Step-1: Go to AWS Console and select AWS S3 service from the list.
Step-2 : Click Create bucket.
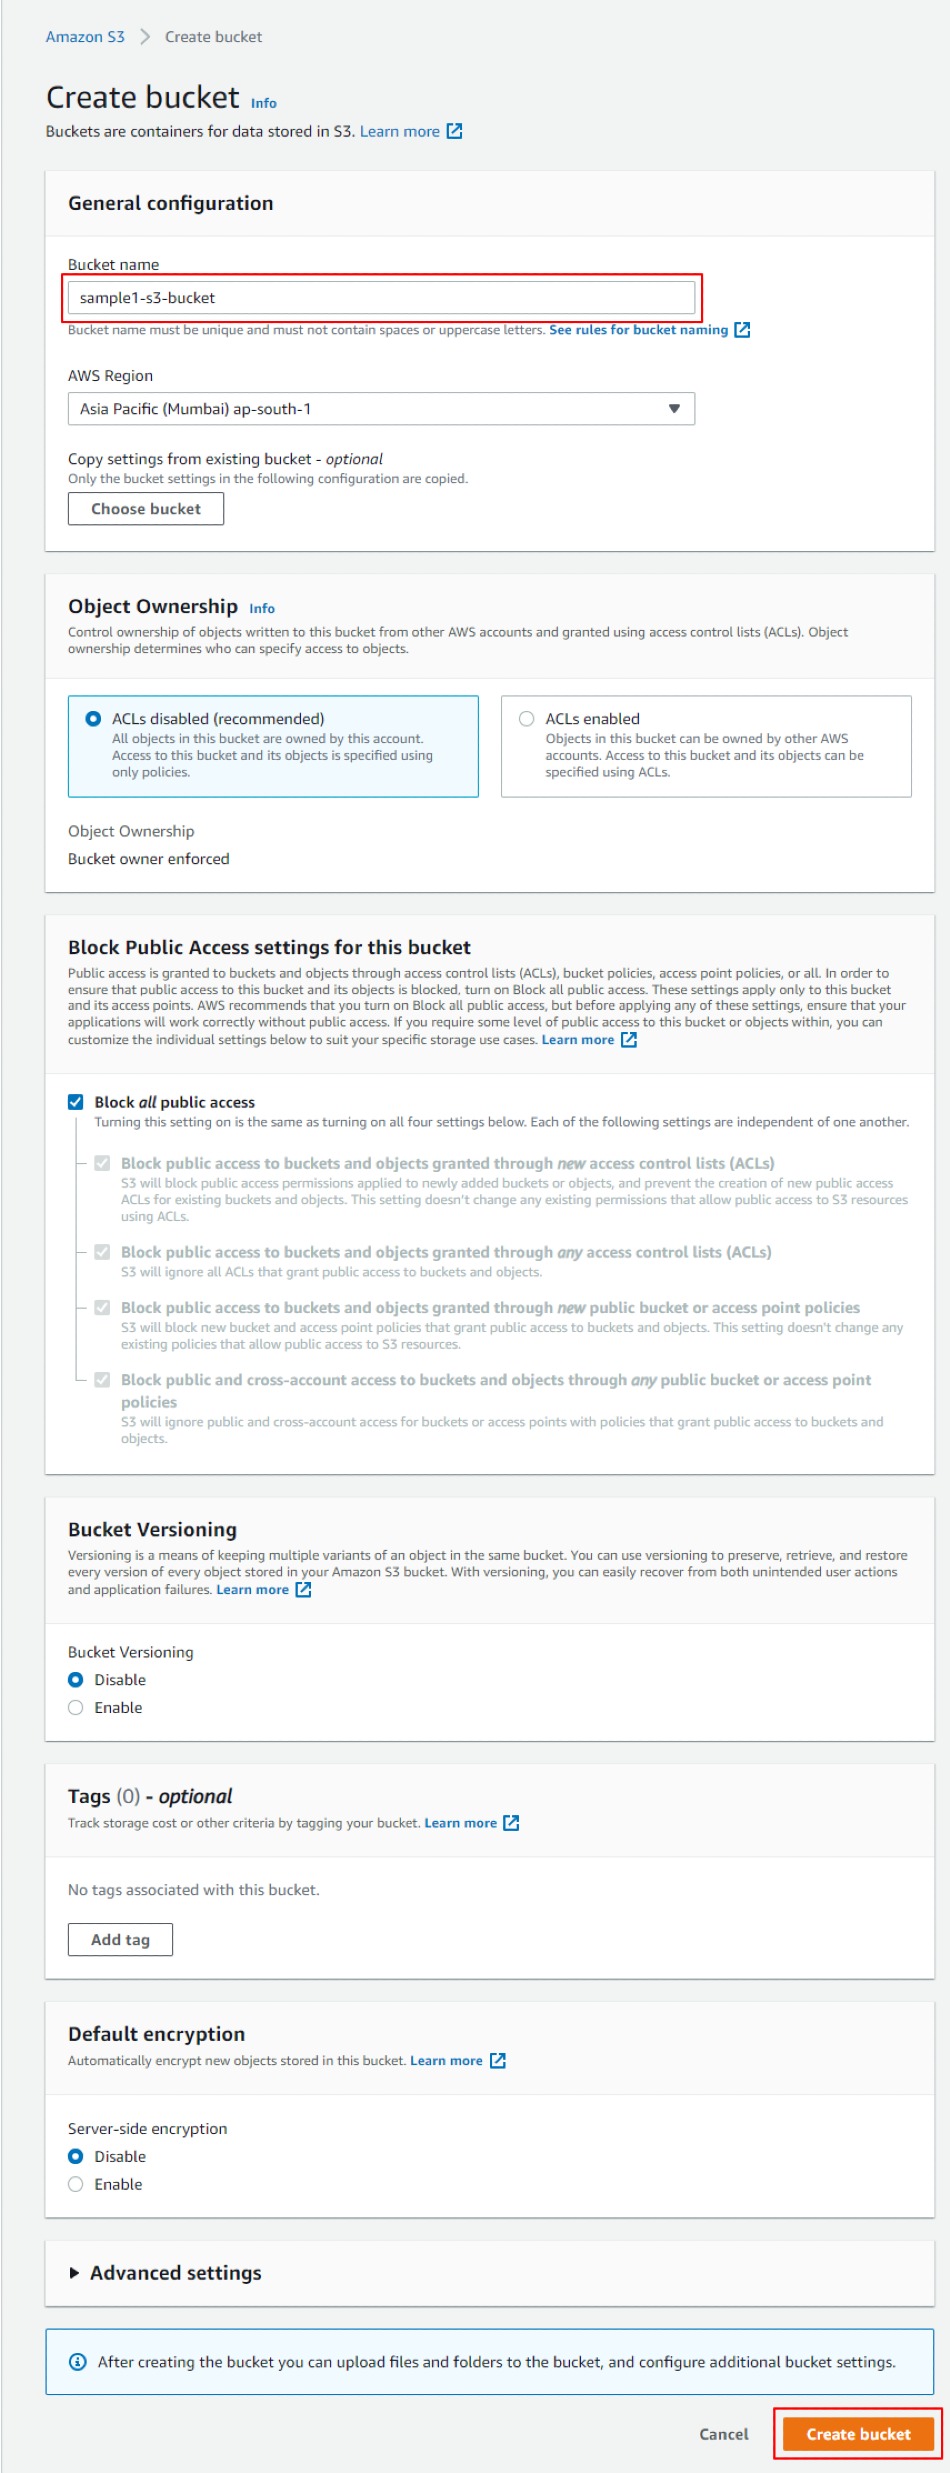
Step-3 : Write the bucket name which must be a unique name.
Then Choose your nearest AWS Regions and click the Create bucket button.
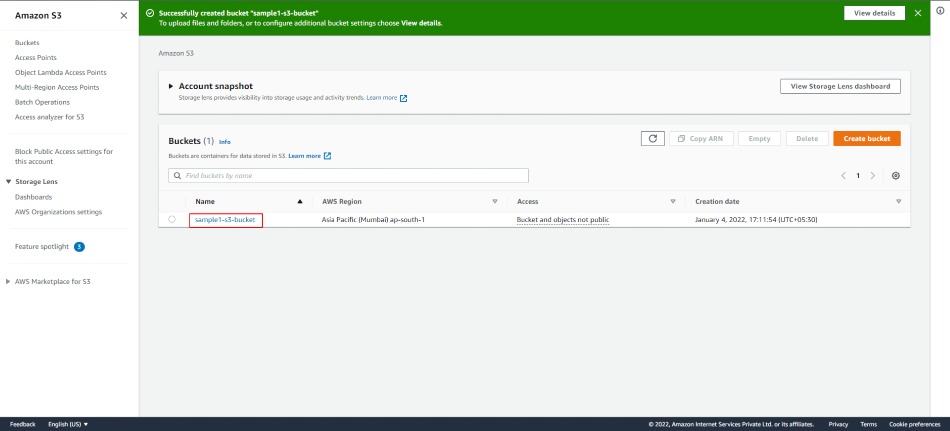
Step-4 : Now your bucket is successfully created. Click on the bucket name.
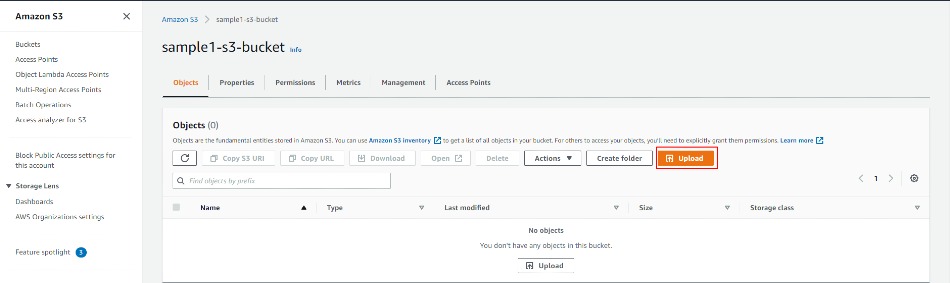
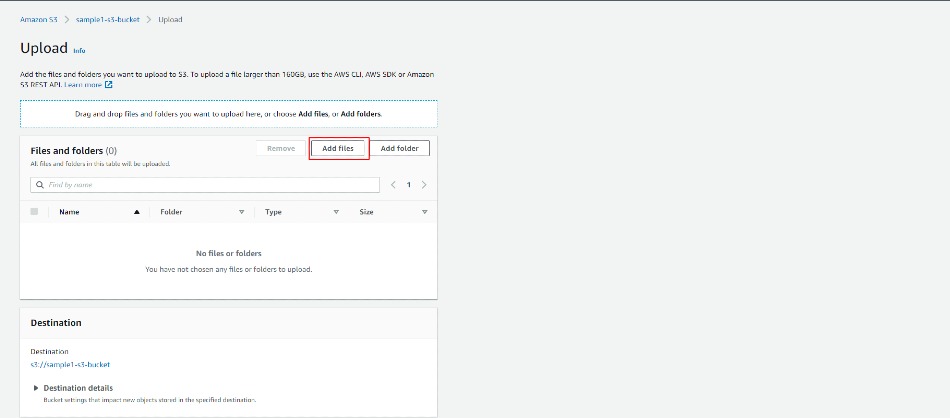
Step-5 : Let us upload an image. which can be any file image, text, etc. Click the Upload button
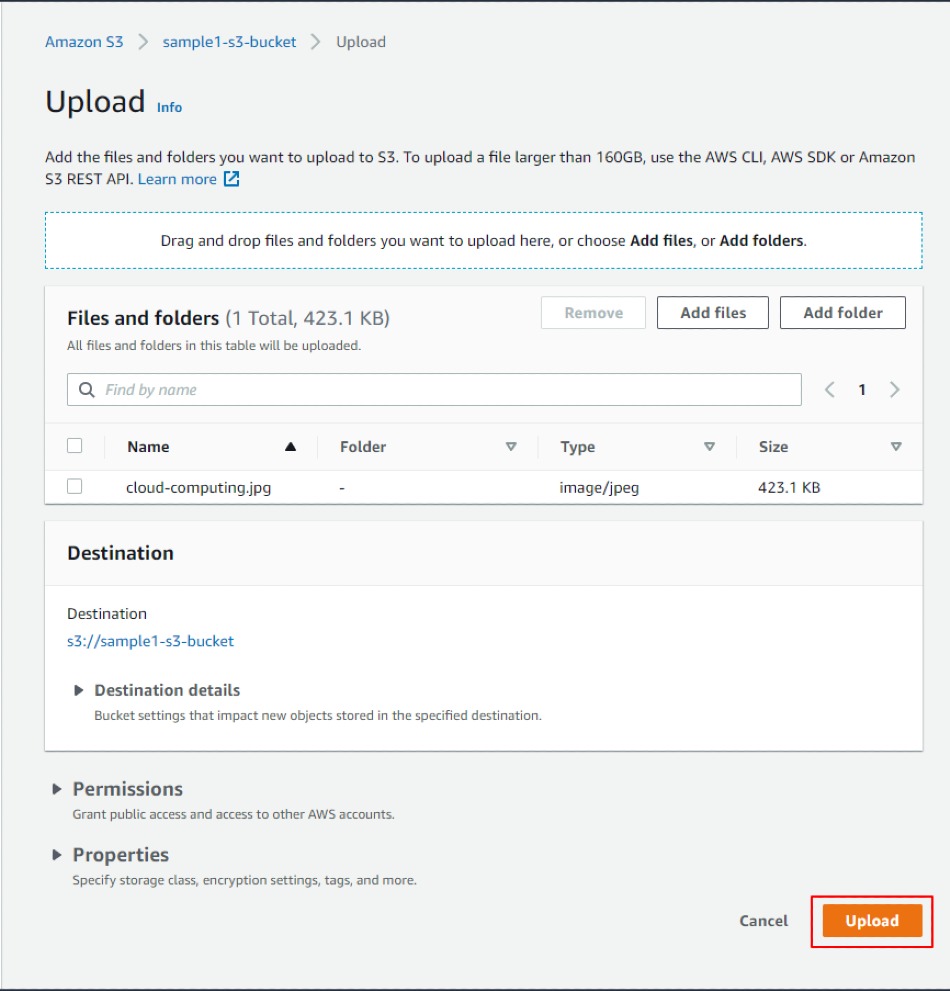
Step-6 : Click Add files and upload your image
Then Click Upload button
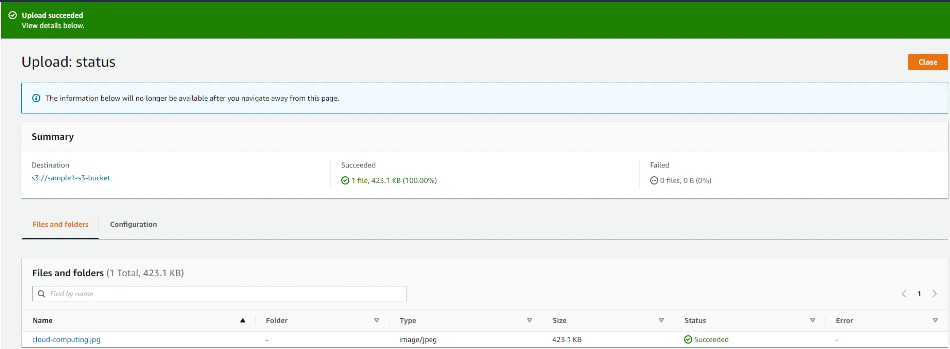
Step-7 : Your image is successfully uploaded
Step-8 : Click on the image which you have uploaded, which will shows details of the image:
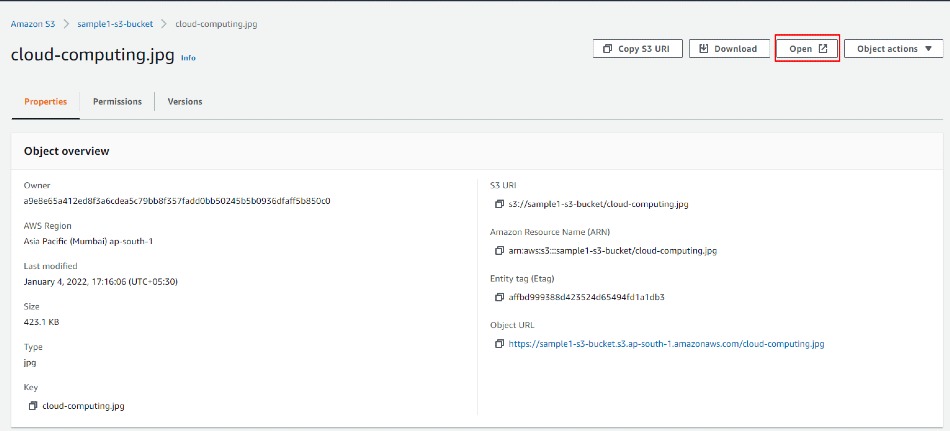
There are two ways in which we can open the image from the bucket:
A. Click Open button (Private URL): as shown in the above screenshot: The image opens fine. The URL contains some sensitive information about your account such as a security token. so no one can access this without login
B. Open the URL (Public URL):
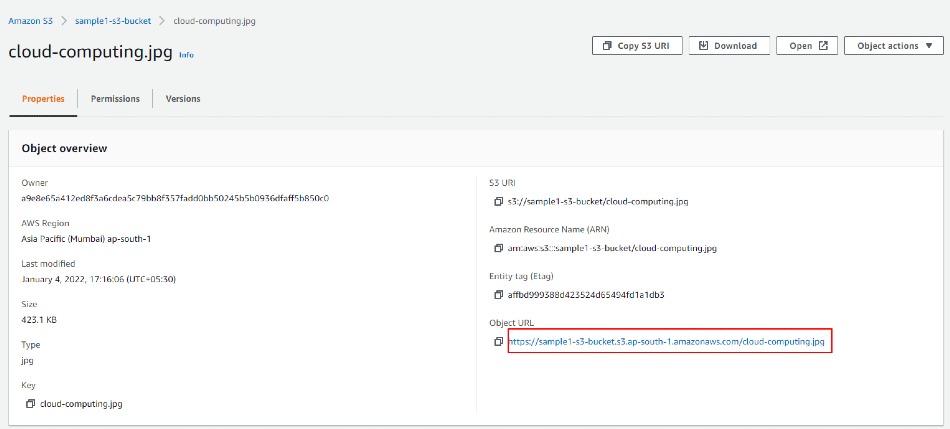
We get an image Access Denied error. This happens because it is a public URL. Our image or bucket at present is not public. We need to write a Security rule for making it public.
This we will write in the upcoming article, where we will look at the specific concept of writing Security rules in S3.


Leave a Comment
Share Your Thoughts