
Creating a website used to be a time-consuming and costly endeavor. In addition, creating a website from scratch was difficult and time-consuming because of registering a domain and arranging to host.
However, those days are over, as companies like Amazon now provide comprehensive functionality for creating and maintaining websites.
This comprehensive article on AWS website hosting will teach us how to host web design services, discover the various AWS hosting plans, and learn about AWS web hosting pricing.
What Exactly Is AWS Hosting?
Amazon Web Services is a public cloud platform that provides low-cost computing, machine learning, and cloud web design services to businesses, individuals, and governments. In addition, it is a public cloud in which others can rent a portion of massive server farms and data centers.
AWS provides website hosting, application hosting, file hosting, and database hosting services, in addition to other types of hosting. It is one of the largest cloud infrastructures, with well-known companies like Netflix utilizing its services
Why Should You Use Amazon Web Services?
Only consider hosting your WordPress website on Amazon Web Services if your site is expected to grow in size and complexity over time. As your web design company Chicago grows, you will need a massive infrastructure.
AWS can provide all of the services required to improve the performance of your website.

You can use the AWS platform or contact an Amazon web design services consultant. Then, you need to sign in to AWS.
You can also register a domain, transfer a website, and even migrate it to AWS in a few simple steps.
Hosting Websites on AWS - Step By Step:
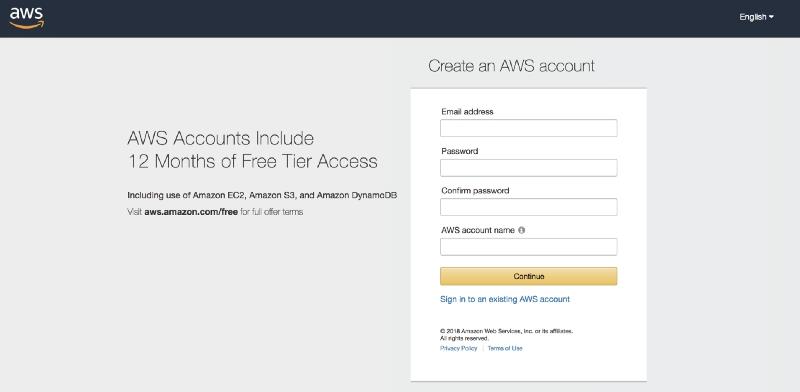
1. First, go to https://aws.amazon.com/ and sign in by entering your information
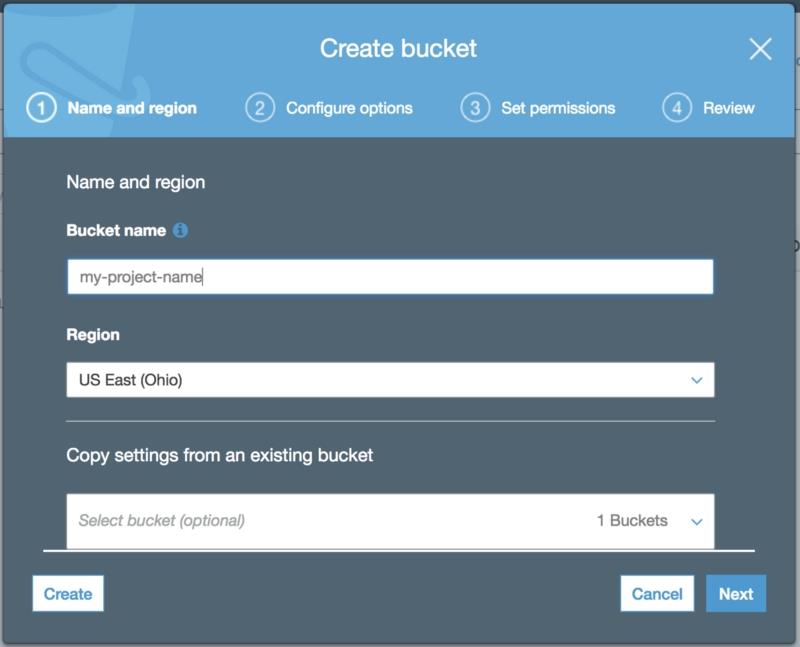
2. Log in to the AWS console, select Services, and search for S3.
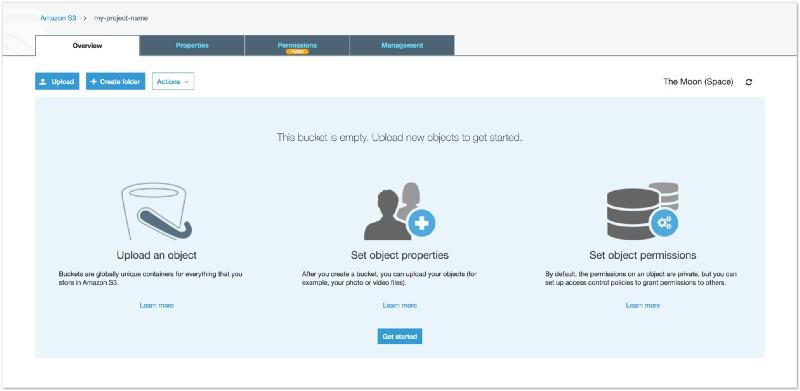
To store your files in S3, you must first build a bucket.
Buckets are simply folders to save your files, which must be named. Make sure to give your bucket a unique name.
3. Following that, you must choose a storage region for your data. Next, click You must make the bucket available to the public.
You can then view the bucket's configuration, review it, and click on Create a Bucket.
4. You can now upload your existing website to S3. Select the bucket name and look for the upload button in the upper left corner.
You can drop and drag files into the bucket. You can choose your storage class and then click upload. It may take a few moments for your files to update
5. Select this bucket to host a webpage after clicking on the static website hosting option. Save the changes
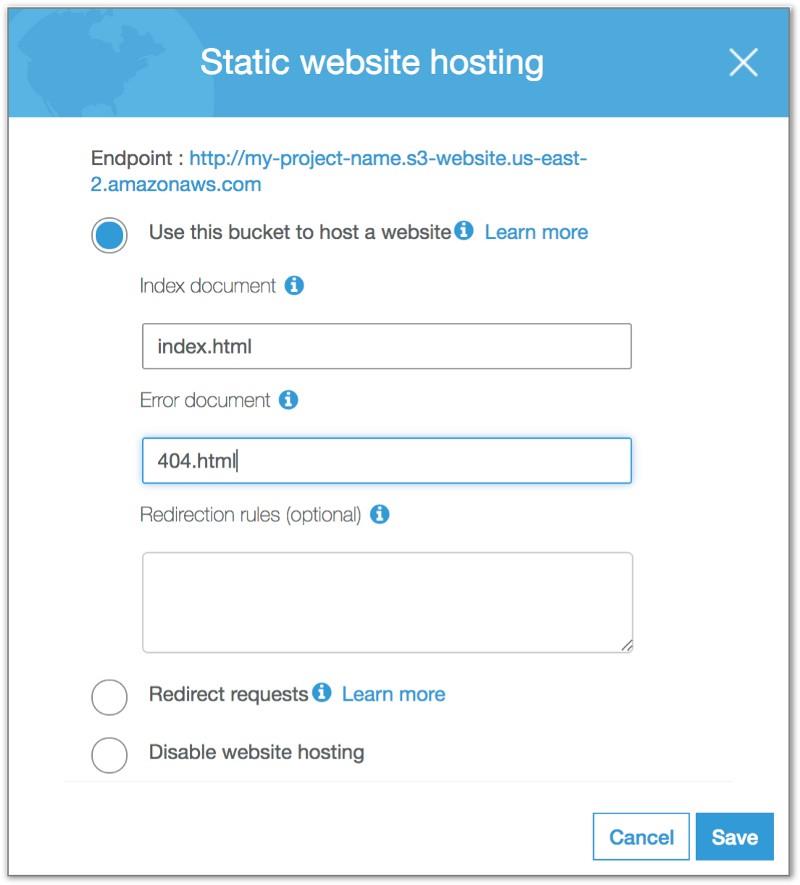
6. Click on the static website option once more
7. You can check your website by clicking on it when it appears
How to register a domain using AWS Route 53:
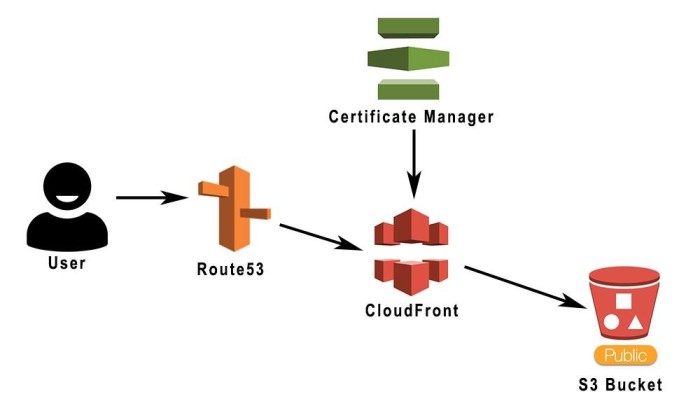
You can use Amazon Route 53 to assist you in getting a website or web application up and running. Route 53 serves three primary purposes:
- Domain Registration
- directing Internet traffic to your domain's resources
- Examining the state of your resources.
Check out the following steps for registering your domain on AWS:
- First, log in to the AWS console, navigate services, and look for Route 53.
- Now select the domain registration option. Select a domain name and check its availability, following the selection of a domain name. Fill in your contact information, then verify and buy that domain.
- Once the domain has been created, navigate to the Create a Host Zone section and select your domain.
You must create a record set to route internet traffic to your CloudFront.
You must first specify the following:
- Type. Choose A for the IPv4 address;
- Alias. Choose Yes;
- Alias Target. Enter your CloudFront distribution's domain name, Routing Policy. Leave the Simple option alone
- Evaluate Target Health. Choose No.
- Click the Create button.
After a few moments, your traffic will be routed to CloudFront. Amazon web design services make building and maintaining a website appear simple. This makes it simple to register a domain, host your website, and make sure of quick loading times via CloudFront.
Pricing Plans for AWS Web Hosting:
AWS is a low-cost Chicago web design hosting service. As we all know, AWS bills us based on how much we use the resources at any given time.
There are no upfront payments. The benefit of using AWS is that there are no long-term contracts. It provides two pricing options: pay-as-you-go and fixed monthly pricing.
Most static websites will fall under the free-tier option, a free web design services offered by AWS for static websites.
How to Host a WordPress Site on Amazon Website Services?
AWS has made Lightsail, a service that allows you to host a WordPress website with a few clicks of the mouse, accessible. Let's examine the steps one by one:
- Log in to AWS and go to Lightsail.
- .Make an instance.
- Next, choose the Region and AZ where you want to deploy the instance.
- Choose WordPress as the platform and blueprint.
- Next, select the plan that best fits your site's budget and requirements.
- Could you make a new example and name it?
- Connect or SSH into your instance using the available options, and then run this command to obtain the WordPress site password - cat $HOME/bitnami application password.
- This will be used when you connect to the WP site's admin console.
- In the browser, navigate to http://IPAddress/wp-login.php, where the IP Address is the public IP address of the WordPress site, as shown on the instance page. Enter the username and password as obtained in step 7 above.
- Using a static IP for your WordPress site is best because if the instance restarts, the IP will change, and the site will be inaccessible. We can get the same information from the lightsail page's Networking tab.
- On the networking page, create a DNS zone and use the domain you registered for your website. This will give your website a friendly name.
Yay!! You've just started your WordPress website.
You're finished!
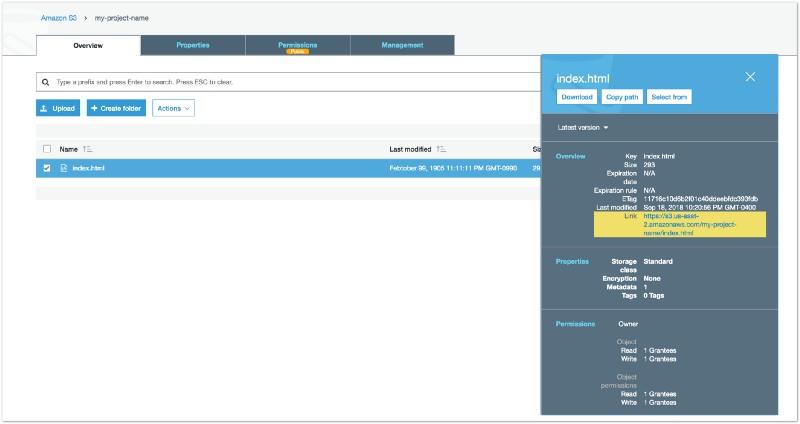
That's all! You have now created a very basic static site on AWS S3.
Return to S3's "Overview" tab and click on your index document to access your site. Then, on the right, you'll see a slide-in menu with a link to your website!
Conclusion:
Using AWS to create and maintain a website is a simple task. With the help of CloudFront and Amazon's well-integrated ecosystem, you can easily register a domain, host your website, and ensure fast load times.
This guide should assist you in registering, deploying, and hosting your website on AWS.


Leave a Comment
Share Your Thoughts