In this article, we will learn how we can connect our EC2 instance using three different ways using SSH.
What is SSH?
The SSH(Secure Shell) is a way used to connect to instances from your computer and control remotely.
In general, by using SSH you can control your remote machine and do the stuff just using the command line.
Prerequisites
To connect your instance to an ssh client, you must first have an account with AWS and you must have created an instance. If you have not done so, use the links below:
How To Create EC2 Instance In AWS
You will also be required to have Private Keys, the IP address of the instance, and permission to allow connection from the user.
How do I get Private Keys for EC2?
While we Create a new instance, in the last step it asks you to create or use the existing "key-pair" which is used for SSH connection to the instance.
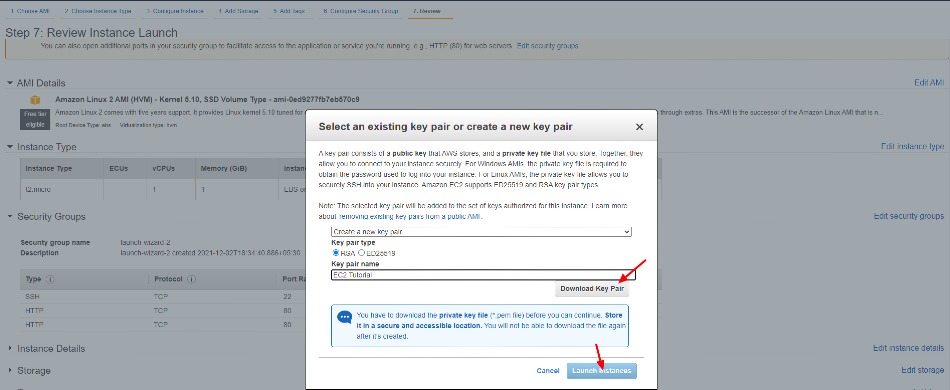
Make sure to download the .pem file when creating an EC2 instance and keep it safe, as you will not be able to download it again. Also, remove the space from the name if you have it, one for better naming conventions.
Once you have your instance ready, use the following steps to connect your ssh client to the AWS instance.
Connect to your EC2 Instance using SSH
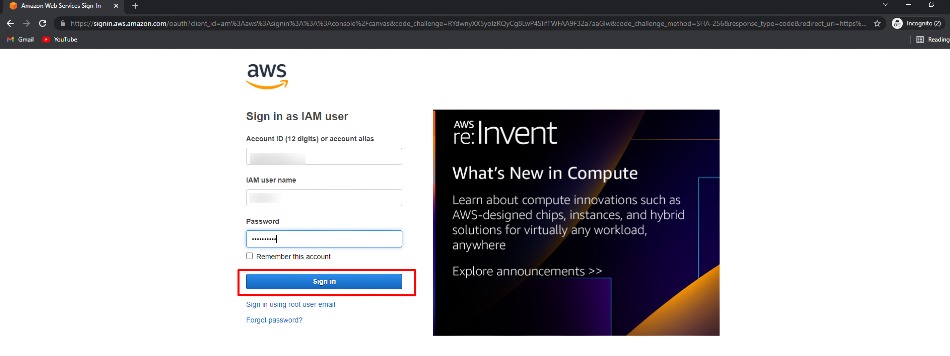
Go to https://aws.amazon.com and log in with your email and password.
Based on your operating system there are different ways to do SSH.
For Linux, Mac OS and Windows 10 or greater you can directly use SSH using your teminal.
For Windows less than version 10, you can use something called putty.
Method 1: Connect with inbuild CLI:
In this method, the EC2 Instance Connect is going to use your web browser and it is valid for Mac, Linux, Windows, and all versions.
1. Select "EC2 instance" from Dashboard to connect
2. Click on Connect option
3. Choose "EC2 Instance connect" and click on connect
4. It will Open a new tab with "CLI" like screen
In this step, it doesn't require any key for the connection
Method 2: Connect with CLI:
1. Select your instance and click on connect.
2. Locate the SSH client and open the SSH client you want to use.
4. Once your terminal is opened, type the following command in the terminal.
Syntax:
ssh -i "your-key-path" ec2-username@ec2-instance-public-DNS
Example:
ssh -i "sample.pem" ec2-user@39.251.157.251
Troubleshooting:
If you receive warning like "Unprotected Private key file" then use the below command to change permission:
chmod 0400 sample.pemCongratulations! you have successfully ssh into your instance using the SSH client.
Aftter succefuly connection, you can verify using below command:
whoamiIt will print current user name, who have been logged into ec2.
To logout from the instace you can simply type exit; command and you will logged out from connect ec2 instace.
Method 3 - Using SSH Client(Putty)
If you are using windows version less than 10, then you need to use Putty for making an SSH connection.
Download PuttyGen software from here:
With using PuttyGen software you need to generate the public using the private key(.pem) and save connection info in putty.
For steps,
https://docs.aws.amazon.com/AWSEC2/latest/UserGuide/putty.html
After successfully connecting via Putty, you will see a screen like this with the Default user(ec2-user).


Leave a Comment
Share Your Thoughts