In this tutorial, we will learn about how to create an IAM user in AWS step by step.
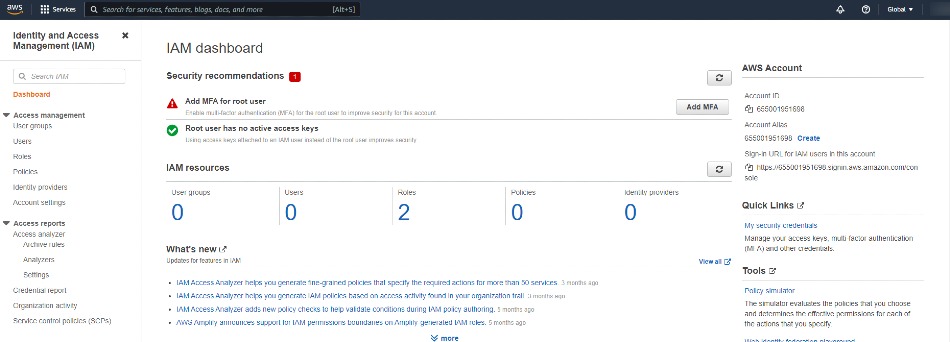
Step-1 : Go to AWS services list and select IAM from the list, it will look like this:
Step-2 : Now click on users section from the side bar and then click on 'Add Users' button

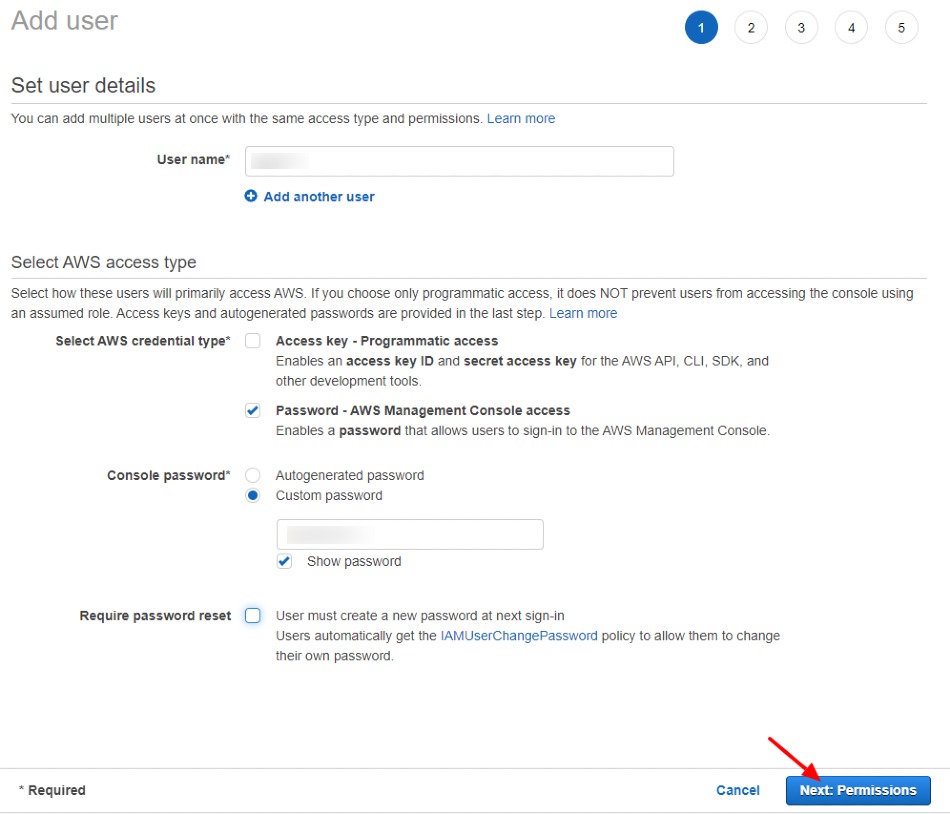
Step - 3 : Now enter your preferred users name and select AWS credentials type as password as shown below:
In user detail form provide username and access type. Click on Next: Permissions to continue.
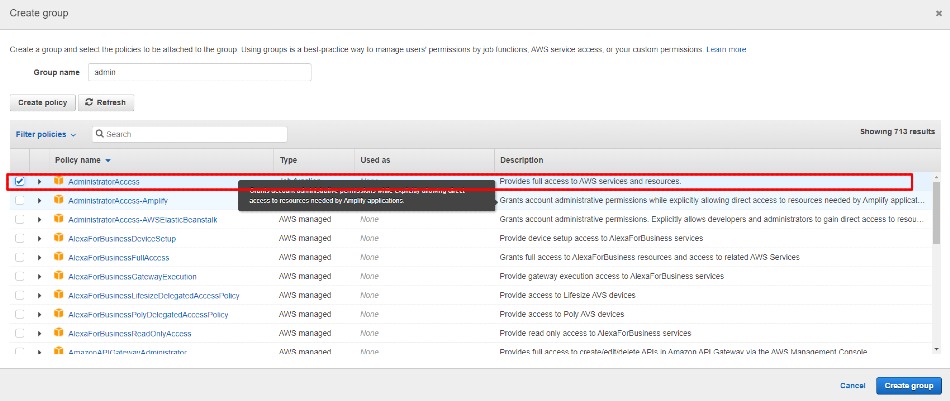
Step- 4 : Now to create users group, click on Create Group button

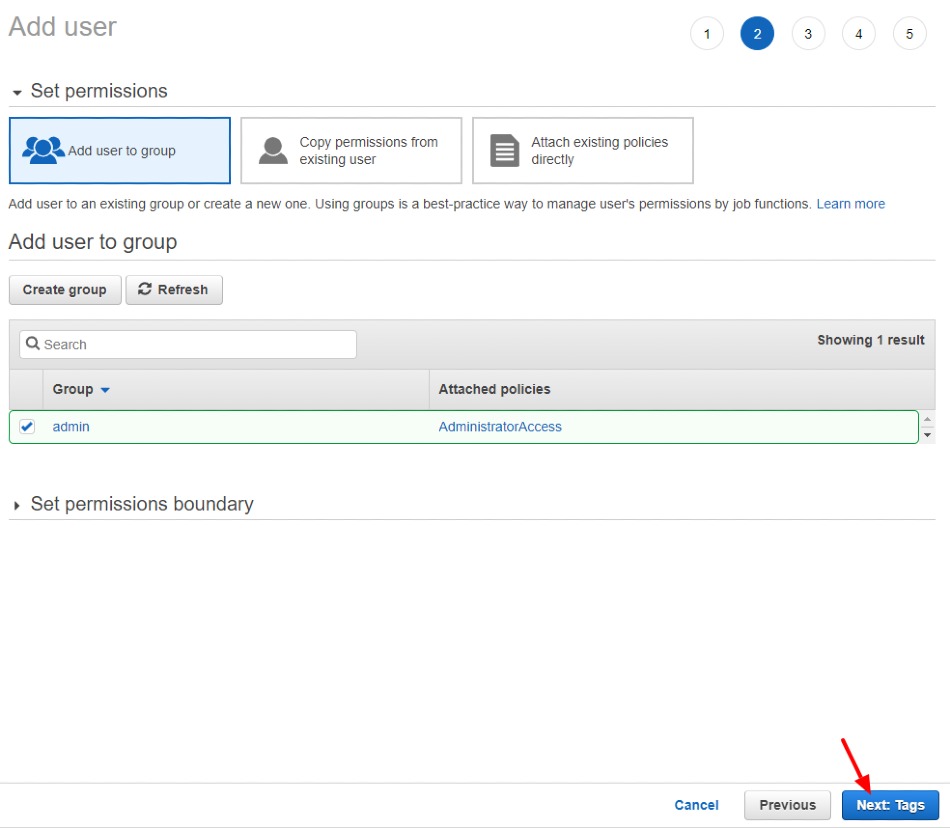
Step - 5 : Then select permission as shown below:
Step - 6 : Now It will look like this
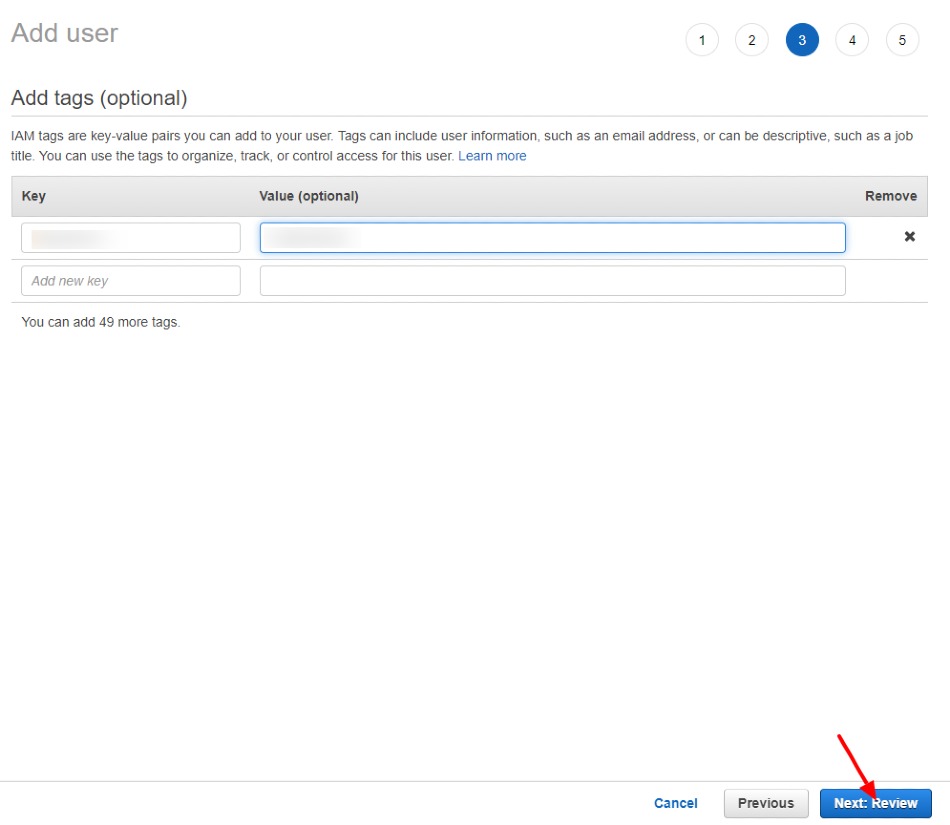
Step - 7 : Here add tags with the key value pair as per your need.
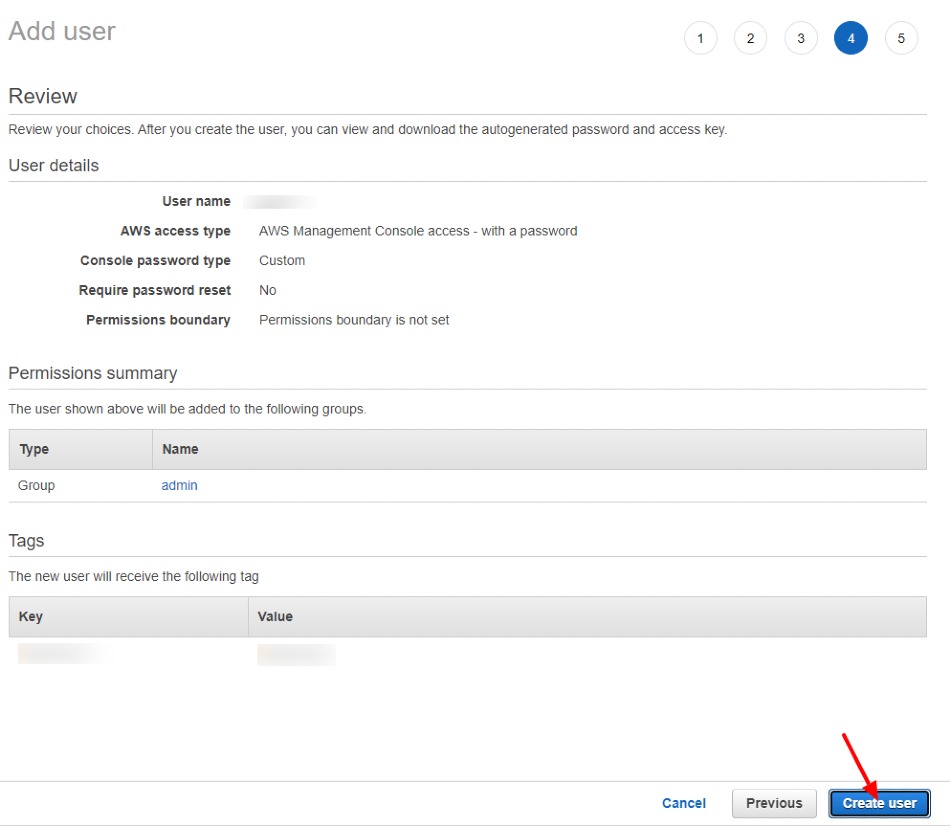
Step 8 : In last, review all details as shown in summery and click on Create User button
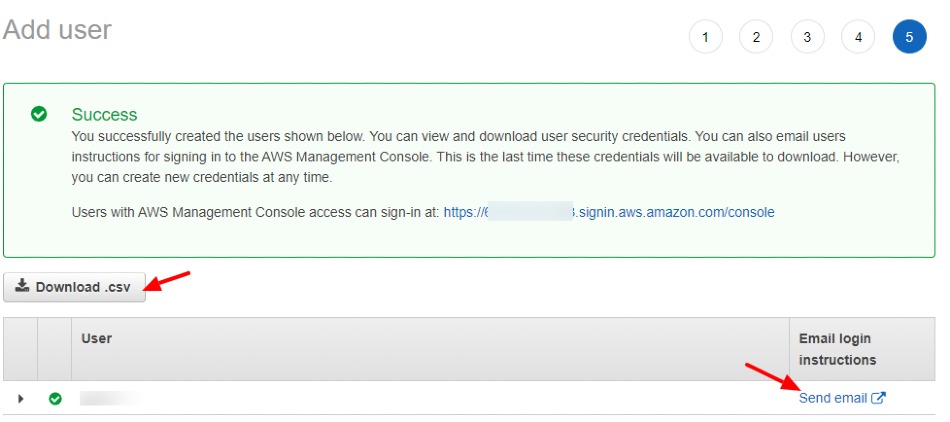
Step 9 : Now your user has been created, but before using it, you need to download the .csv especially if you autogenerated a password. So this "Download .csv" will have the credentials of your users contained within it. you can also email login instructions to a specific email if you're creating a user for someone else.
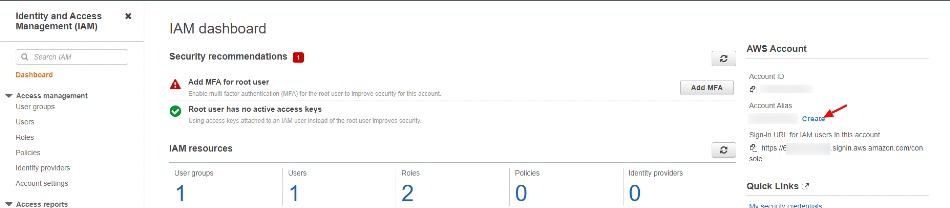
Step 10 : Now go back to IAM dashboard, and click on 'Create' button to create alias
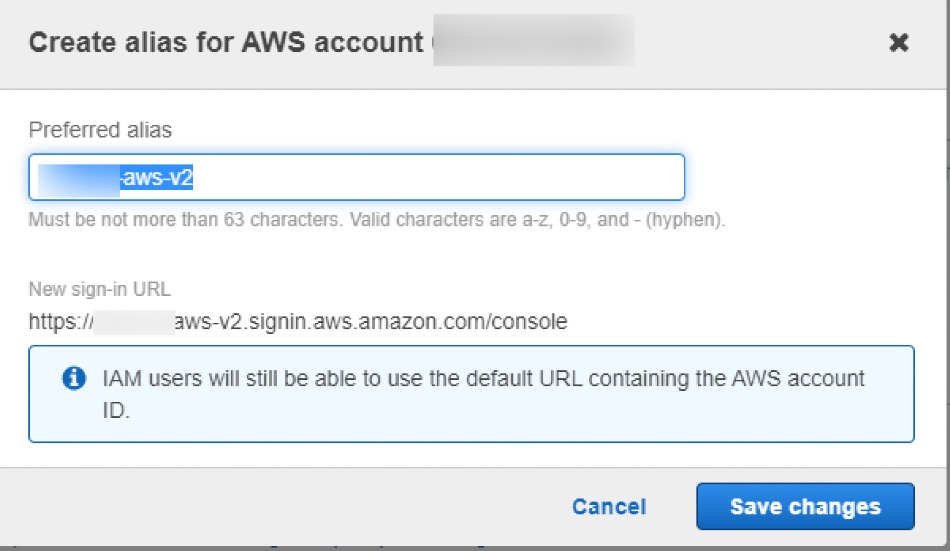
Step 11 : Give name of your alias
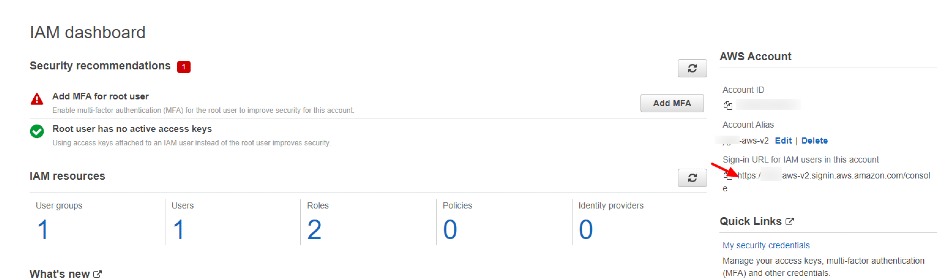
Step 12 : Once you alias is created, you will see your custom alias url which you can use for access AWS account,
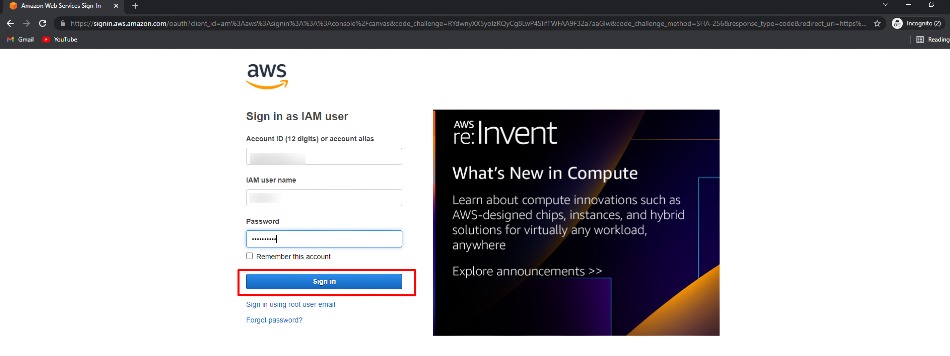
Step 13 : Copy alias URL and open this URL on private window and use your created users credentials to access your AWS IAM account.


Leave a Comment
Share Your Thoughts